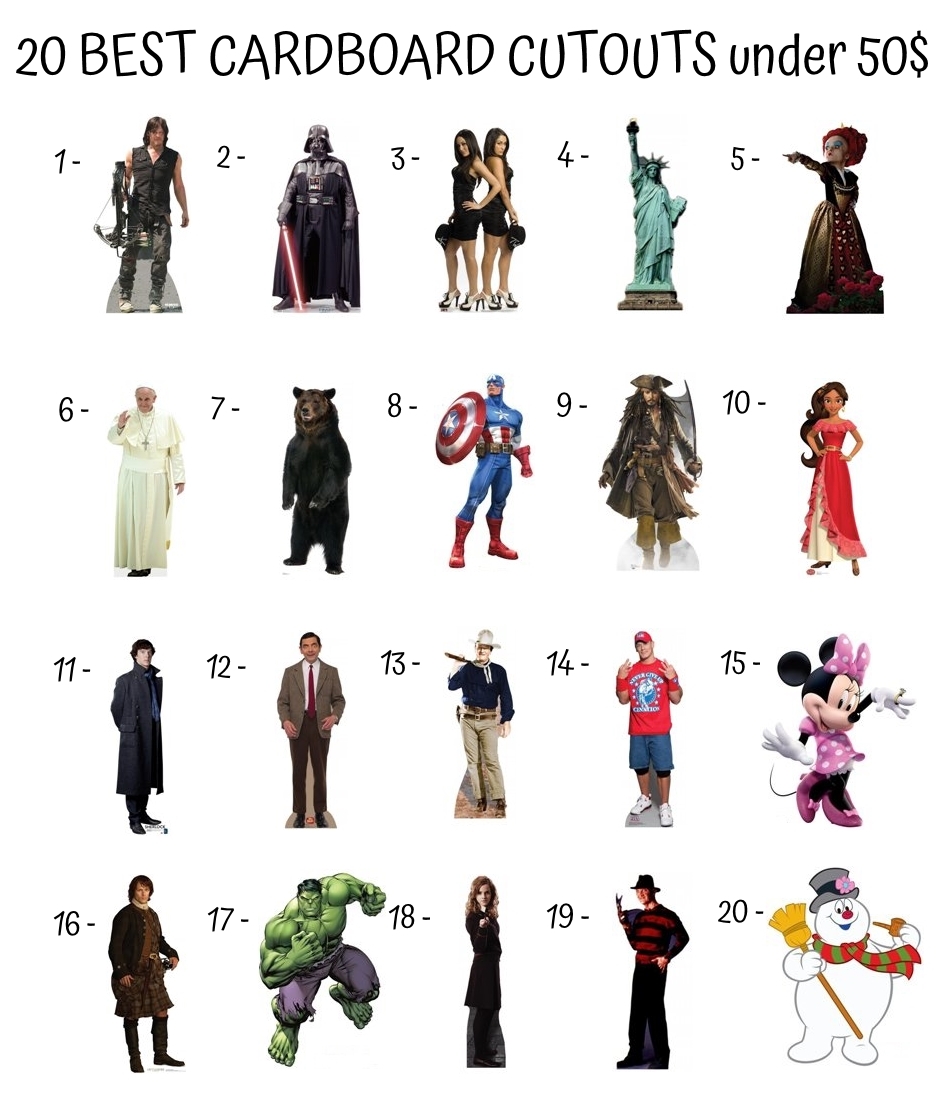
There are 20 best cardboard cutouts under 50$ that I reviewed for you, enjoy!
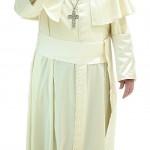
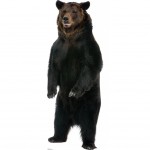
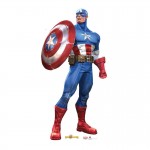
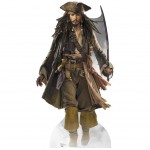
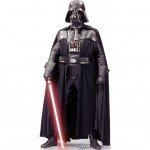
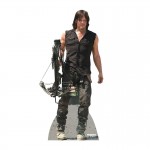
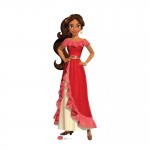
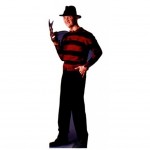
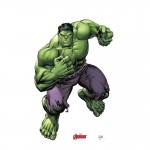
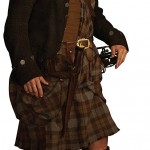
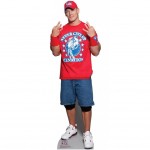
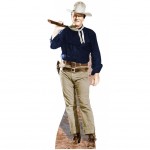
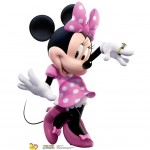
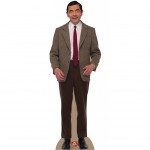
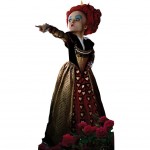
1) Daryl Dixon – AMC’s The Walking Dead – Advanced Graphics Life Size Cardboard Standup | 2) Darth Vader – Star Wars Classics (IV – VI) – Advanced Graphics Life Size Cardboard Standup | 3) Bella Twins – WWE – Advanced Graphics Life Size Cardboard Standup | 4) Statue of Liberty – Advanced Graphics Life Size Cardboard Standup | 5) Red Queen Advanced Graphics Life Size Cardboard Standup | 6) Aahs Engraving Pope Francis Life size Cutout Standee 5ft | 7) Brown Bear – Advanced Graphics Life Size Cardboard Standup | 8) Captain America Advanced Graphics Life Size Cardboard Standup | 9) Captain Jack Sparrow Advanced Graphics Life Size Cardboard Standup | 10) Elena Advanced Graphics Life Size Cardboard Standup | 11) BBC’s Sherlock – Advanced Graphics Life Size Cardboard Standup | 12) Mr. Bean – Advanced Graphics Life Size Cardboard Standup | 13) John Wayne “Rifle on Shoulder” – Advanced Graphics Life Size Cardboard Standup | 14) John Cena – WWE – Advanced Graphics Life Size Cardboard Standup | 15) Minnie Dance Advanced Graphics Life Size Cardboard Standup | 16) Jamie Fraser – Scottish Version Advanced Graphics Life Size Cardboard Standup | 17) Hulk Advanced Graphics Life Size Cardboard Standup | 18) Hermione Granger Advanced Graphics Life Size Cardboard Standup | 19) Freddy Krueger Advanced Graphics Life Size Cardboard Standup | 20) Frosty The Snowman – Advanced Graphics Life Size Cardboard Standup |
A personal life sized cardboard cutout may seem like a fantasy, but you too can easily make one at home. Cardboard cutouts come in handy for all kinds of purposes, including, but not limited to, work meetings, hide-and-go-seek, and family gatherings. Simply place your cardboard cutout where you are supposed to be and walk away. Most people won’t even notice the difference.
You want to photograph the subject on the cleanest possible white background. It also advisable to avoid harsh lighting and shadows.
To accomplish this I used a seamless paper backdrop held aloft by two C-stands. I then photographed the subject using two wireless photo strobes angled at 45 degrees towards the subject.
The camera and wireless transmitter were situated in the center upon a tripod. Try to find the highest resolution camera that you can. You want the images to be very large, since it will be printed as life-sized. The larger the image file, the less resolution you will ultimately lose.
You don’t really need such a fancy setup, but it’s best to use the cleanest (most plain) background available.
(Note that some of the links on this page are affiliate links. This does not change the price of any of the items for sale. However, I earn a small commission if you click on any of those links and buy anything. I reinvest this money into materials and tools for future projects. However, you are obviously free to source the items as you please.)
Using your photo editing software of choice (mine is Photoshop), adjust the levels, brightness and contrast.
In Photoshop, I first open the ‘Levels’ adjustment window and use the white eyedropper to select a spot on the backdrop. This assigns the backdrop as the most white portion of the image, and re-calibrates the image as such. In doing this, it removes a lot of the shadows from the backdrop by making the backdrop very white, and white-balances the image accordingly.
I then adjust the level’s sliders until I achieve the most depth in the image. Don’t worry too much about brightness or contrast at this point, but focus on details of what you are looking at.
Finally, to adjust brightness and contrast, I open the ‘Curves’ adjustment window and tweak the curve until I achieve the results I like. Alternately, you can open the traditional ‘Brightness and Contrast’ adjustment window, and adjust it that way.