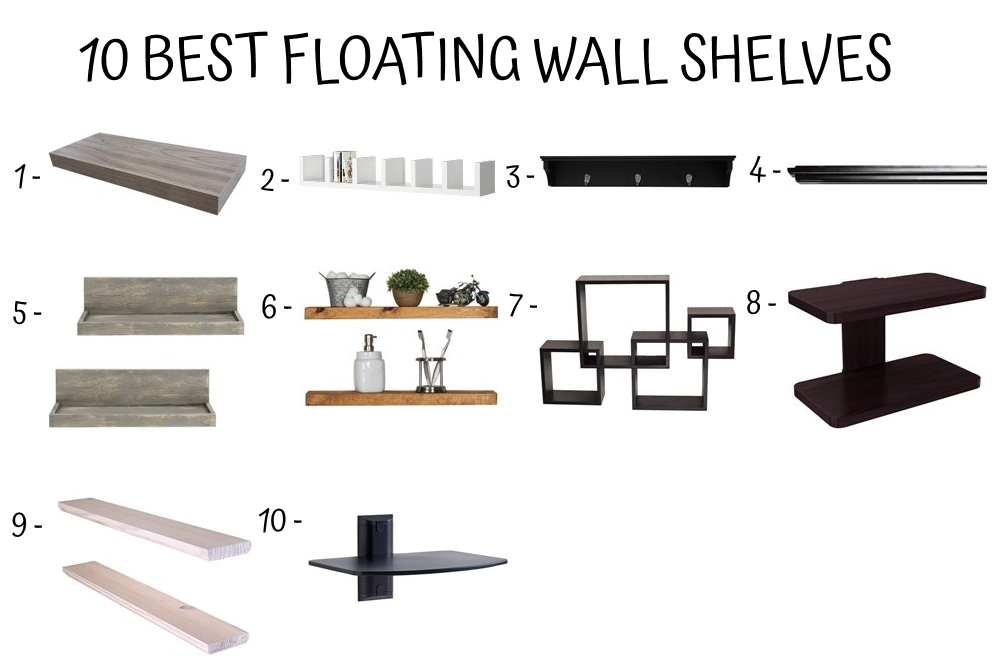
There are 10 of the best floating wall shelves that I reviewed for you, enjoy!
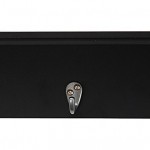
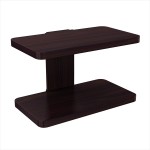
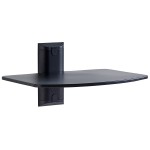
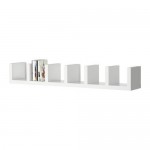
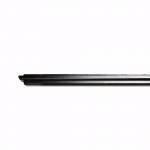
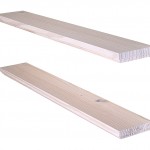
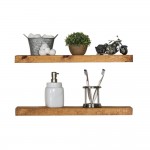
1) Homewell Wood Floating Wall Shelf For Home Decoration | 2) IKEA 602.821.86 New Lack Wall Shelf Unit White | 3) Kiera Grace Finley Wall Shelf with 3 Metal Hooks | 4) Mantel Narrow Floating Wall Shelf | 5) 24 inch Vintage Design Wall Mounted Floating Wood Shelves | 6) del Hutson Designs Handmade 24-Inch Rustic Pine Floating Wall Shelves | 7) Danya B. BR1023WH Intersecting Cube Shelves | 8) Stony-Edge Floating Wooden Wall Mount Shelf | 9) DAKODA LOVE Routed Edge Floating Shelves | 10) ECHOGEAR Steel Wall-Mounted AV Shelf |
Materials, Tools and Design Options
These floating shelves are perfect for displaying your collectibles, photos, travel mementos or just about anything. Without the brackets and clunky hardware you’d find with store-bought shelves or kits, they seem to be suspended in midair. These floating shelves are strong, too.
While floating shelves are not designed to hold your old set of Encyclopedia Britannicas, this floating shelf is certainly capable of it. No one would believe that a floating shelf is made from plain, old lightweight and inexpensive hollow-core doors.
In this article, we’ll show you how to install these floating shelves (and shorter ones) securely with basic tools. Even if you think you have no DIY skills, believe me, you can tackle this project.
Each floating shelf is made from half of an 18-in. hollow-core door, lag screws and cleat that hold the shelf to the wall. You can buy new hollow-core interior doors at a home center or lumberyard (just be sure the door doesn’t have predrilled holes for locksets). You may find only 24-in. wide doors, but the door can be any width; just try to minimize the waste. And you might be able to get doors free from yard sales or other sources.
As far as tools go, you can get by with just a circular saw and edge guide (Photo 2) to cut the door. However, I recommend that you use a table saw to cut the cleat because a clean, straight cut is important for a good-looking shelf. (If you don’t own a table saw, use a friend’s or have the cleat cut at a full-service lumberyard.) You’ll also need a stud finder, a chisel, a hammer, a wrench, 1-in. brads, 3-1/2 in. lag screws, carpenter’s glue and a level.
We chose to paint our floating shelves, but if you want the beauty of real wood, you can buy the door in wood veneers like oak or maple (ours was lauan). If you decide on a natural wood finish, you’ll need to cover the exposed edges with a matching wood trim.
If you go this route, first shave off 1/8 in. from the front and side edges with a table saw to eliminate the slight bevel on each edge, then apply the matching trim. You can also cover the entire shelf with plastic laminate if you want a tough, hard-surfaced shelf.
You may want to change the depth of your shelves as well. Don’t exceed 9 in. or you’ll start to weaken the cantilever strength of the shelf. Feel free to make narrower or shorter shelves, as shown below.
The whole job will go a lot smoother if you paint the shelves before you install them. If you intend to paint the room, also do that before you install the shelves because it’s a drag to cut around each shelf with a paint brush. Just be sure to sand your wood door with 150-grit sandpaper before you paint.
If the surface is still rough and porous after sanding, fill the pores by applying a paste wood filler (like Elmer’s wood filler) with a 3-in. drywall knife. Let it dry and sand the surface again.
These floating shelves are permanent—they’re tough to remove! The glue not only makes the shelves strong but also impossible to remove without ruining them. You’ll have to cut them in place 2 in. away from the wall with a circular saw to expose the lag screws and then remove the cleats with a wrench. That’s unfortunate, but you can always make another set cheaply and easily. Regardless, you’ll want to learn how to make floating shelves.